When a customer requests documents from you in Simvia, you will receive an email with a link to the request.

This article explains what you see after opening that link and how to complete the request step by step.
Opening the document request
After clicking the link in the email, you are redirected to the document request page.
At the top of the page, you can see an overview of the request. This includes:
- Who sent the request
- Who the request is addressed to
- The date the request was sent
- The due date

This information helps you understand what is being requested and how much time you have to respond.
Navigating between organisations
On the left side of the page, you see a list of organisations you need to provide information for. This can be your own company or one or more of your suppliers.
Each organisation name is an action point. You can:
- Click on an organisation to open its document upload area directly, or
- Scroll down and complete the organisations one by one

This allows you to work through the request at your own pace.
Messages from your customer
At the bottom of the page, you may see a message from the customer who sent the request. This message often provides additional context or instructions.
If anything is unclear, you can reply directly in this message section. When the customer responds, you will receive an email notification.
Uploading requested documents
When you open an organisation, you enter its document in the drop box. The organisation name is shown on the left side and in the page heading, so you always know which company you are uploading documents for.
Here you will see the documents that are being requested. Some documents are mandatory, others are optional.
For example:
- A request may ask for the most recent version of one mandatory document

- Additional documents may be listed as optional or “nice to have”

If multiple document types are accepted, uploading any one of them is sufficient. In that case, we recommend uploading the document with the furthest expiration date.
Adding a document
To upload a document, you can:
- Drag and drop the file into the upload area, or
- Browse your computer and select the file manually
After uploading, an information bar appears below the drop box. Here you can:
- Select the document type
- Link products to the document, if applicable
- Enter the document’s expiry date

This information helps your customer assess the validity of the document.
Optional documents and “not available”
Some requests are optional. These are marked as “nice to have” and are not required to complete the request.
If you do not have a requested document, you can select Not available. This lets your customer know that the document cannot be provided at this time.
Documents available at a later date
If you do not have a document yet but expect to receive it later, you can:
- Select Not available
- Choose Available later
- Select the expected date
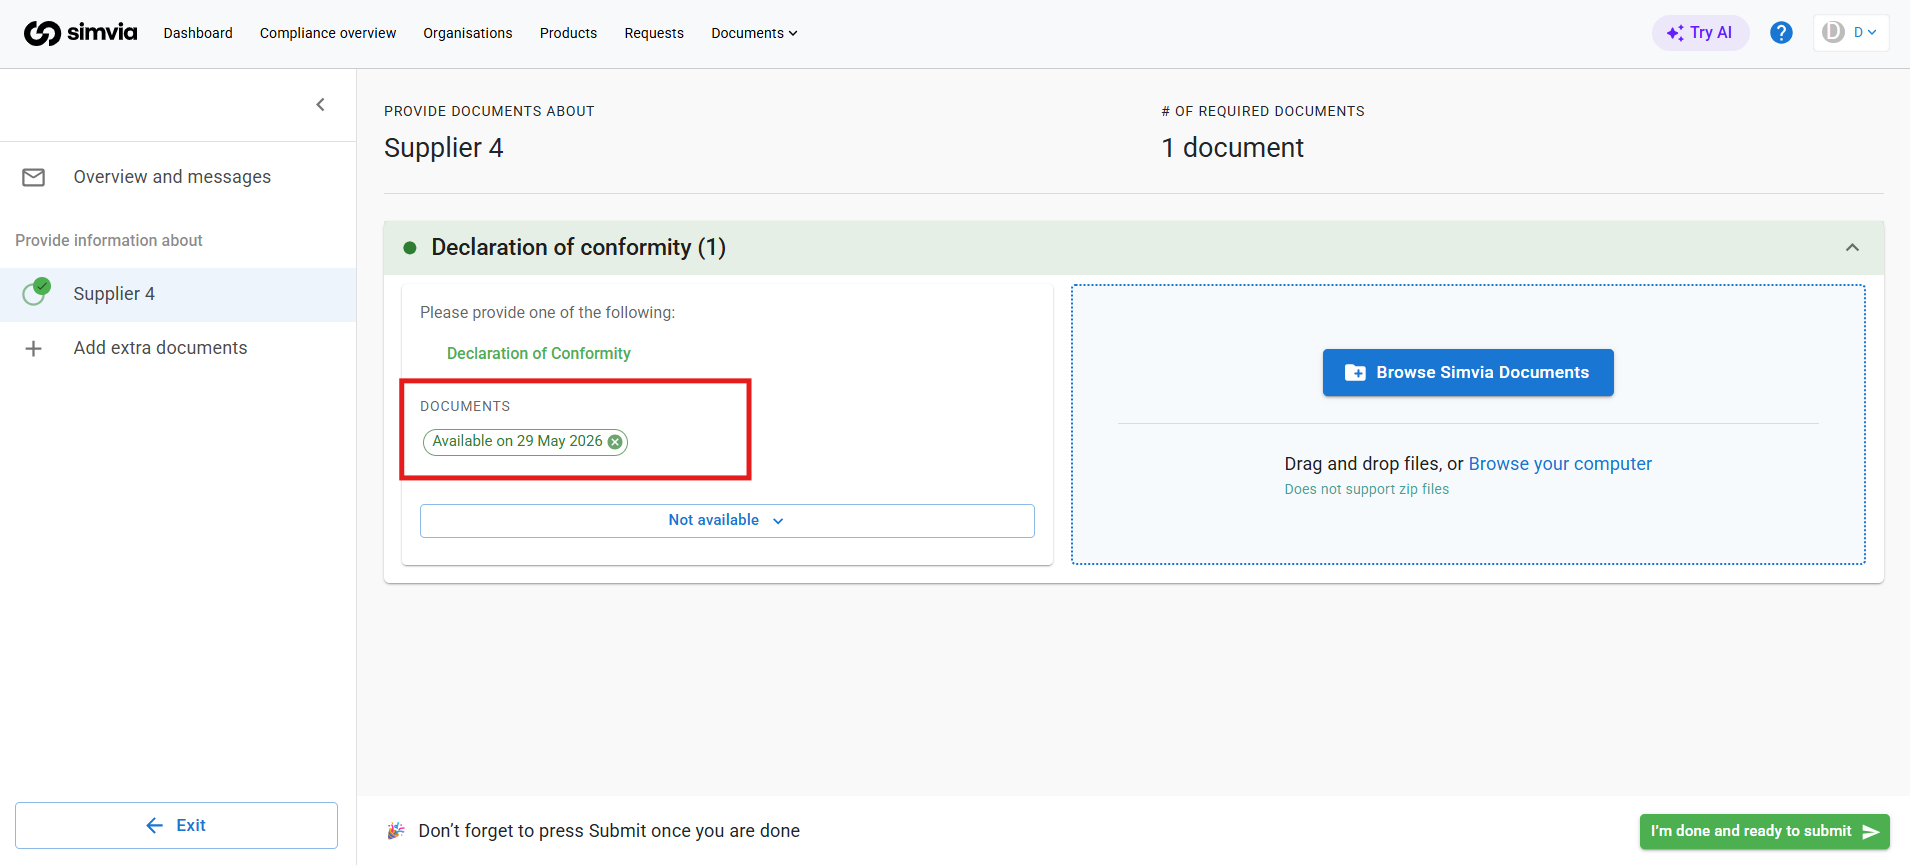
You will then receive a new request on that date, reminding you to upload the document once it is available.
Completing the request
Once all required documents have been uploaded, you will see green check marks next to the organisations on the left. This indicates that all mandatory information has been provided for now.
At the bottom of the page, you can also upload any additional documents you would like to share with your customer.
You can partially complete a request, close the page, and return later. Just make sure to submit everything before the due date.
When you are ready, click Submit request to send the documents to your customer. After submission, the request can no longer be edited. If something is missing or incorrect, your customer will contact you and send a follow-up request.